|
99 Jspec License Plate Holder Shaving |
Article Date: 11-27-06
Author:
My
Fairlady Z
Mod Class: Z32 NA or TT w/ 99 Jspec Bumper
Mod Type: Cosmetic
Article Origin:
www.300zxclub.com
Difficulty Level: 7 (Scale of 1 to 10. 1 being extremely easy, 10 being extremely
difficult.)
Estimated Time to Complete: 3-5 days (Actual work time: 5-10 hours)
Tools Required:
- Cutting Wheel
- Masking Tape/Razor Blade
- Caulk gun for Urethane Epoxy
Materials Required:
- Jspec Bumper
- 'Cool Blue' Urethane Epoxy (I suppose Marine Tex also)
- Fiberglass strips (I'm guessing that's what you call it)
- 240 wet/dry sand paper (5-6 sheets)
- 500 wet sand paper (1-2 sheets)
- Automotive Primer (Grey)
- Guide Coat (Black - optional)
Estimated Cost:
- $50.00 ~$100.00 |
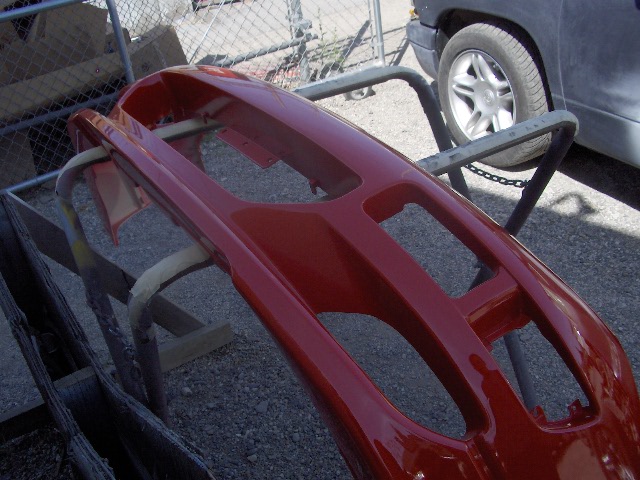
First Step: Cutting the Bracket Off
- I know it can make a z32 enthusiast cringe at even considering cutting into
their brand new $600 bumper. However, patience is key when you are beginning
this stage. You are going to want to cut the bracket into two sections.
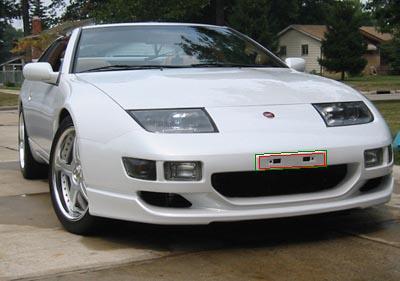
First, cut along the red line (there is a pretty nice distinct line to cut along
from where you actually mount your license plate bracket compared to where it
connects with the body, you will see what I am talking about when you begin this
step.) You want to be pretty careful when doing this considering you are going
to be using this flat rectangular piece as filler. Hints, the more you save of
this "red" piece, the less epoxy you in turn have to use.
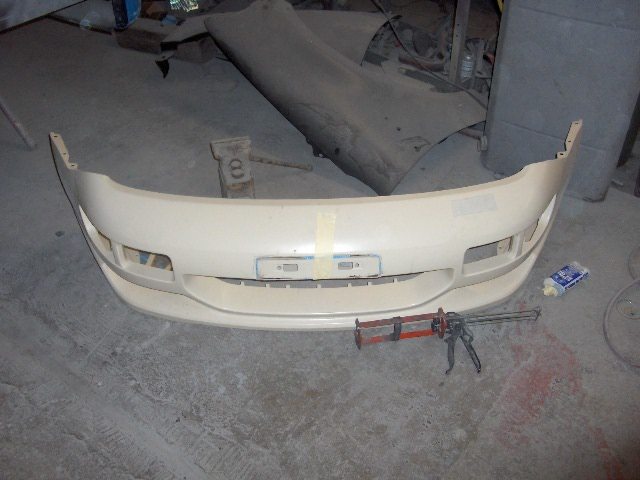
Once the front of the license bracket is off, you can now start cutting off
where it connected to the body. Be careful, you only want to cut right where it
meets the actual structure. If you cut more, you are going to have to use more
epoxy which = more $$$.
OPTIONAL: There is a piece that hangs in the opening of the "mouth" of the
bumper. It is rectangular with holes in it, I chose to leave it there so I could
mount my license plate there.
NOTE: Wear gloves, sweatshirt, goggles, oxygen mask. The urethane comes off VERY
hot and emits some sort of gas that will make your eyes and lungs burn.
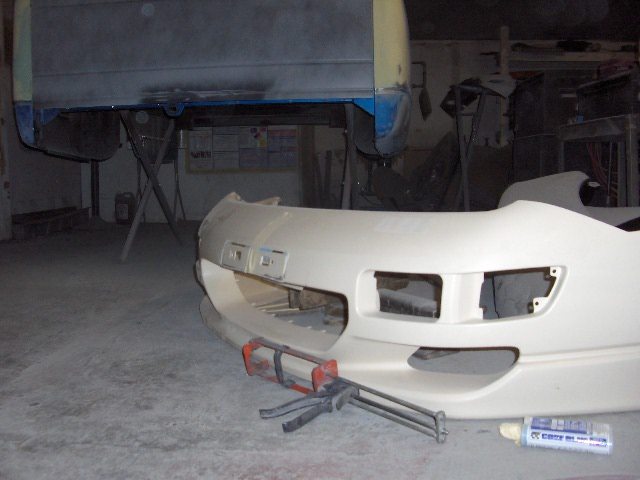
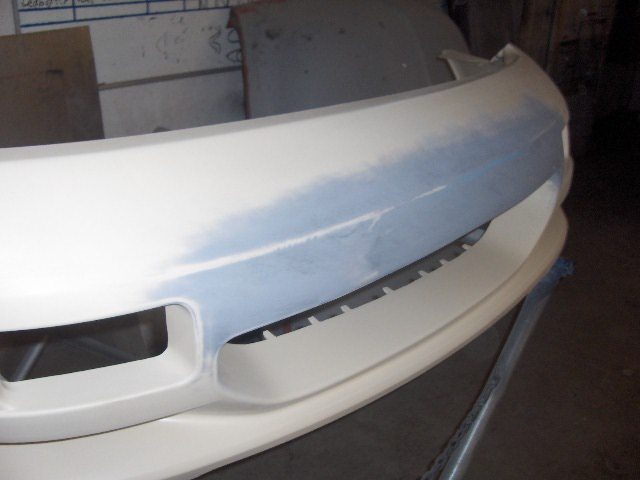
Second Step: Filling the Hole (lol, I'm dirty)
Now that you have a big gapping hole in your brand new bumper, you can begin to
fill it in. Now, there are holes in the license plate bracket that you first
must address before ANYTHING else. Remember the green piece that you cut off?
These little strips will work PERFECT for filling in these holes/rectangles (see
above picture for reference on holes.) Insure these are snug when they fit in,
or they will just fall right out. I suggest you use that same bench grinder and
a razor blade to shape the pieces. You will then bend the "red" piece (flat,
rectangular piece with the holes that you just filled, dummy) so it follows the
curve on the bumper. This sounds scary, but it only takes 5 seconds and another
persons eye to tell you when it looks about right. Remember, if it isn't exactly
perfect you can always build it up with epoxy and primer.
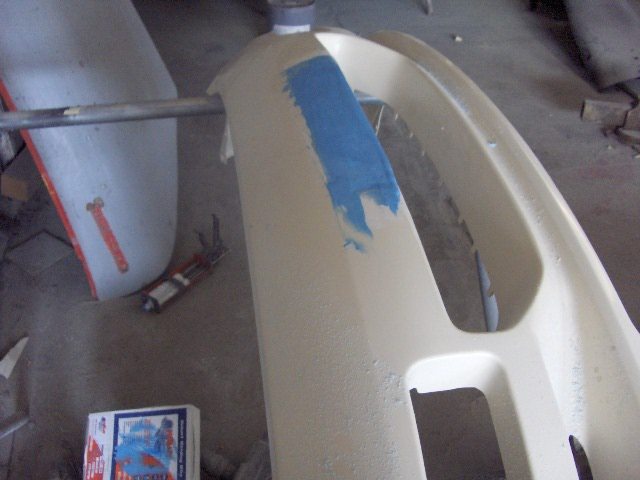
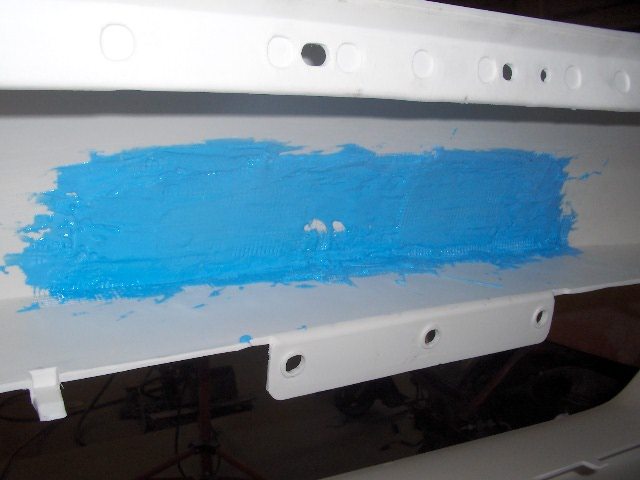
Once you have this down, you can then begin laying the fiberglass strips down
and putting 'Cool Blue' Urethane Epoxy on it. You can then hold it in place with
masking tape, or you can sit there for the 12 hours for the epoxy to cure
completey. I suggest putting more on every 6-8 hours until it is held in
completely. I also suggest at least 2-3 coats of epoxy with sanding in between.
This is what it should look like.
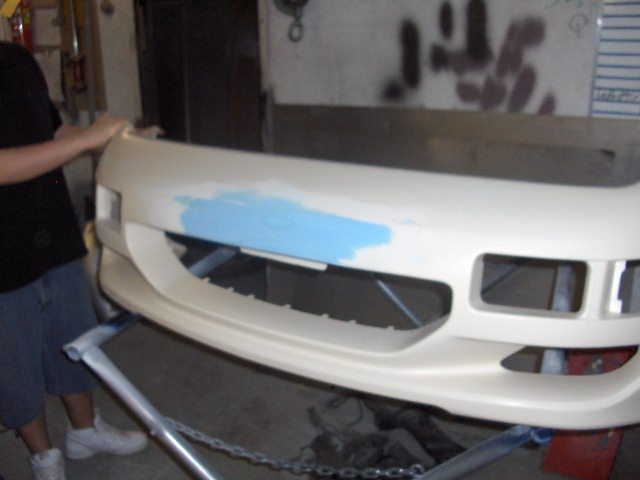
Then after the coats of urethane (this is 2nd coat).
*NOTE: I didn't put the filler holes until after I had it on the bumper, I
suggest doing it off because it is easier to work with.
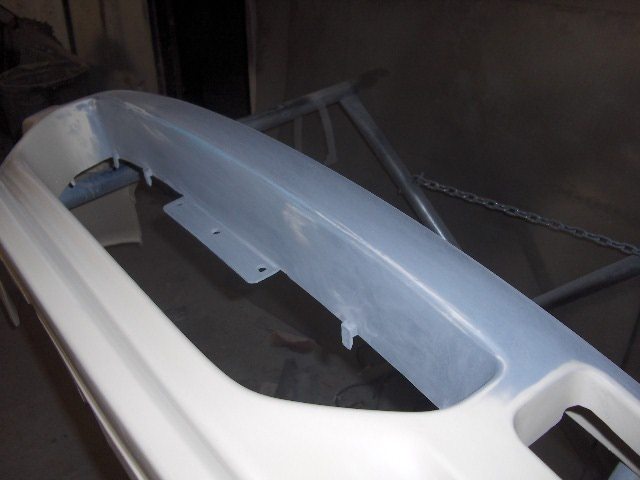
Third Step: Prime, Sand, Repeat.
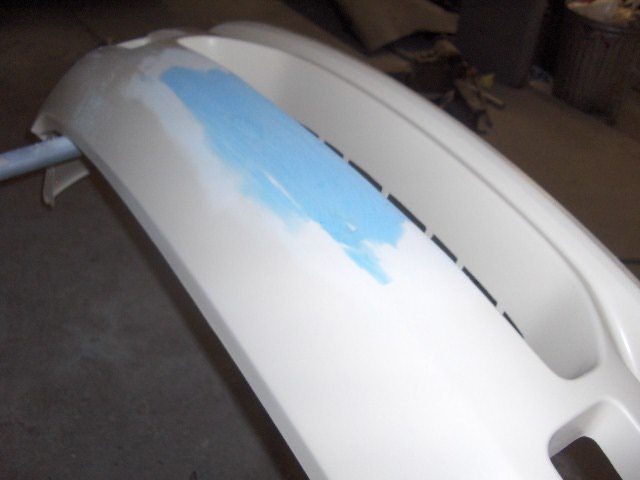
Now, this is the FUN part. Once urethane coats are applied, you can block the
urethane smooth with 240 wet/dry sand paper to ensure no high/low spots. You
will do this with my weapon of choice: a paint stirrer. Just wrap sand paper at
it and go at it. It should look like this right before the primer stage:
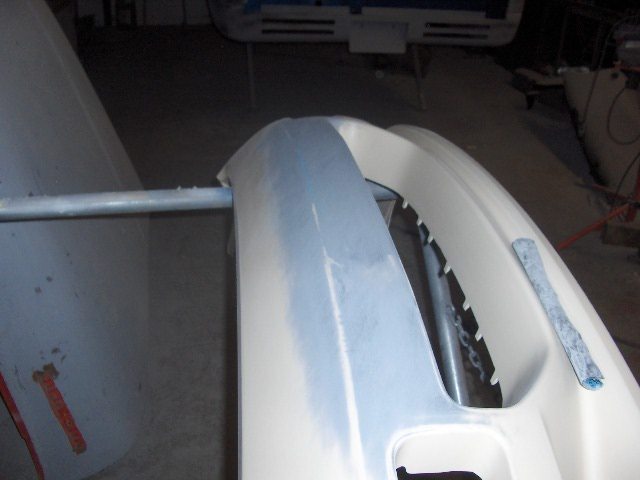
Once you're ready to primer, you want lay down about 5-6 coats. Then block with
240 wet/dry sand paper. You will do this as many times as needed until there are
NO imperfections. For me, it took 6 different sandings with 5-6 coats. I also
sprayed guide coat on in between these so I could tell when I took off what was
needed. This is what it should look like:
Once this is complete, it is now time to 500 wet sand. For this, just get your
500 sand paper and a bottle of water. This is just to make it smooth and PERFECT
for paint. This will also bring out any imperfections in your work. I then took
a scuff pad and did the whole bumper so it would be ready for paint. This is
what it should look like if you did it right:
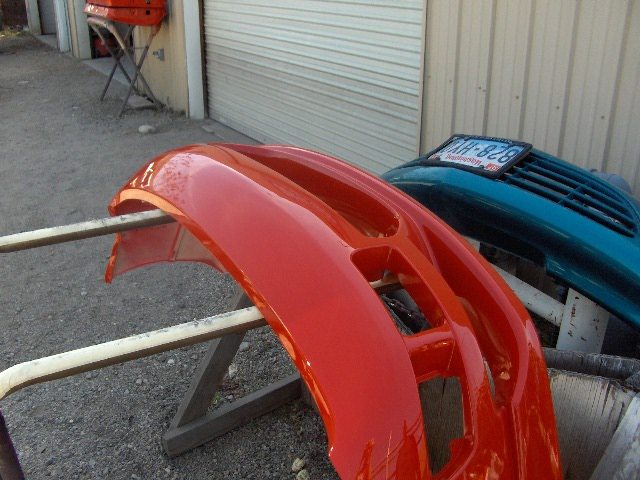
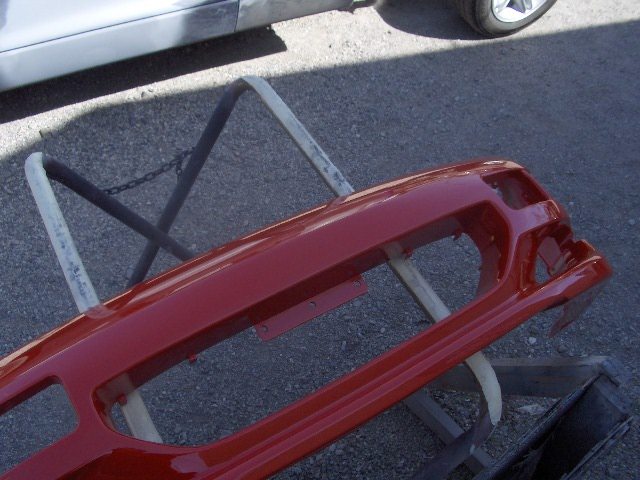
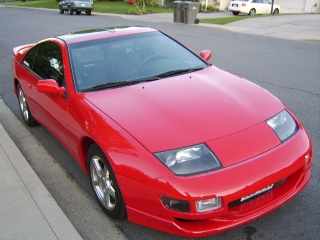
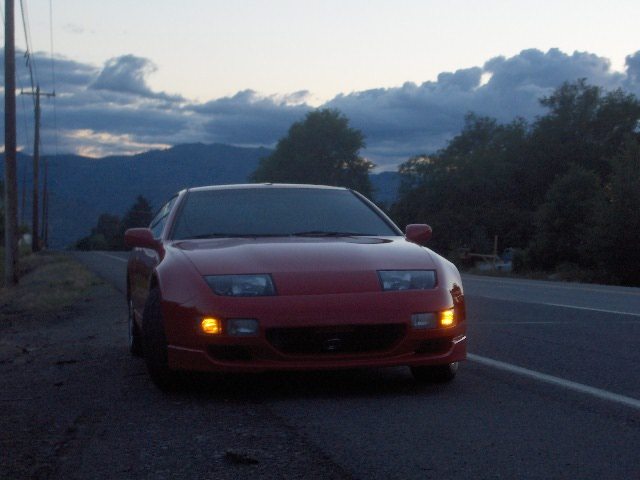
And then the FINISHED product, oh, she's so majestic:
Zmods screen name:
My
Fairlady Z
3ZC screen name:
My
Fairlady Z
AIM screen name: saufen420
|