|
Caliper Rebuilding & Painting |
Article Date: 06-21-08
Author:
Twisted
Six
Mod Class: Z32 All Models
Mod Type: Performance & Aesthetics
Article Origin:
Zmods.org
Difficulty Level:
5
(Scale of 1 to 10. 1 being extremely easy, 10 being extremely
difficult.)
Estimated Time to Complete: Approx 2 hours per caliper after
removal from the car. 48 hours to allow paint to cure before
reinstalling.
Tools Required:
- Z32 front caliper
rebuild kit
- 14MM Socket & ratchet
- Torque wrench
- Bench Vice
- Air Compressor
- Fine tipped awl
- Bench grinder with a wire wheel
- 2 cans of brake cleaner
- Acetone or lacquer thinner
- 2 cans of high temperature paint in the color of your choice
- High temperature clearcoat (optional, but recommended)
- Set of
Speed Bleeders (optional, but recommended)
- Set of stainless steel brake lines (optional, but recommended)
- 2 quarts of brake fluid, brand of your preference |
!!!WARNING!!! - This task can be a little tricky, so
if you don't think you're up for the job, DO NOT ATTEMPT THIS!! Brakes are
nothing to fool around with if you're not completely sure of what you're doing!!
A mistake could land you in the hospital or morgue, and your car in the
junkyard!! If you have little or no experience with brake work, forget you
ever saw this writeup, and let a professional handle this job!!
I also recommend purchasing a set of core calipers
off a parts car to do this on, as this procedure is time consuming. It
will take a few days to do it right and allow the paint to cure, in which time
your car will be out of commission, which is not an option if your Z is a daily
driver. Its a lot easier to do this to some spare/core calipers, that way
the brake lines aren't left open very long, and you can still drive your car
while working on this. This is also a perfect time to upgrade from the
scrawny 26mm calipers if you have an early 1990 model NA. When you're
finished, you can resell your original calipers and recoup your money spent on
the rebuilder set you bought.
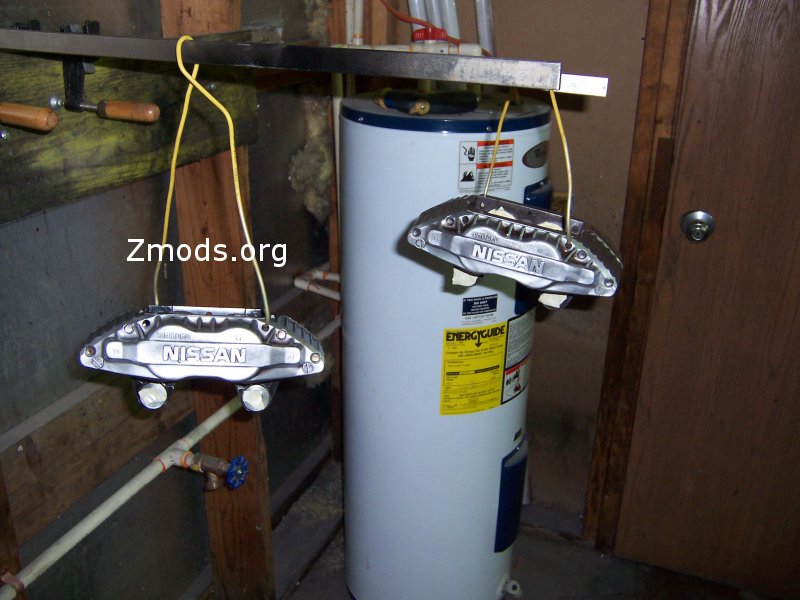
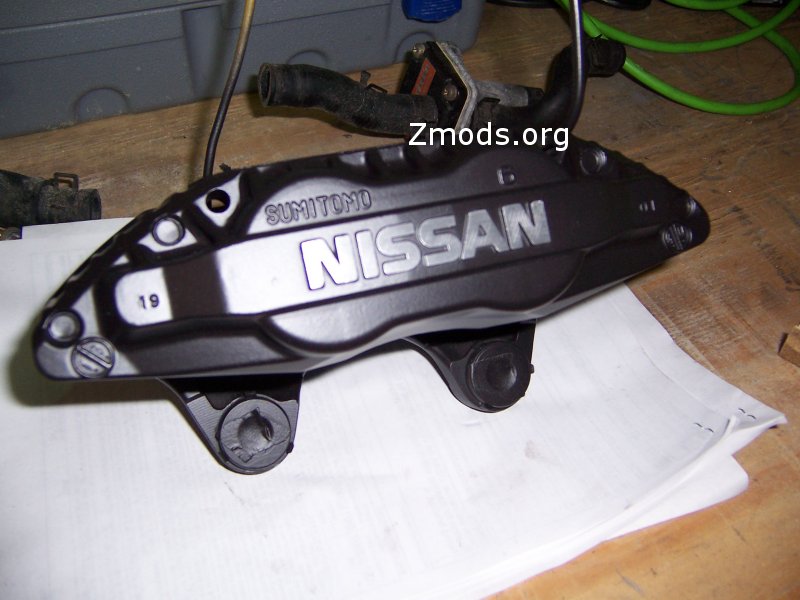
With the above out of the way, now the fun begins!!
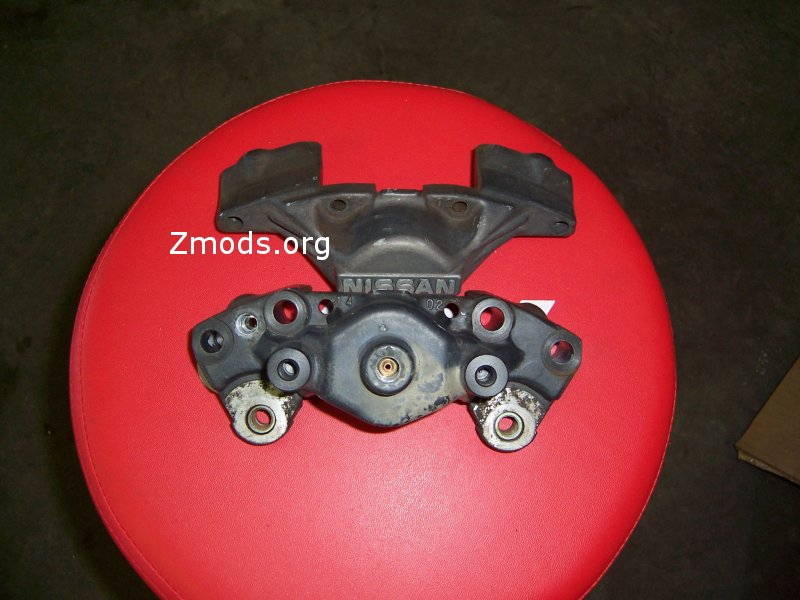
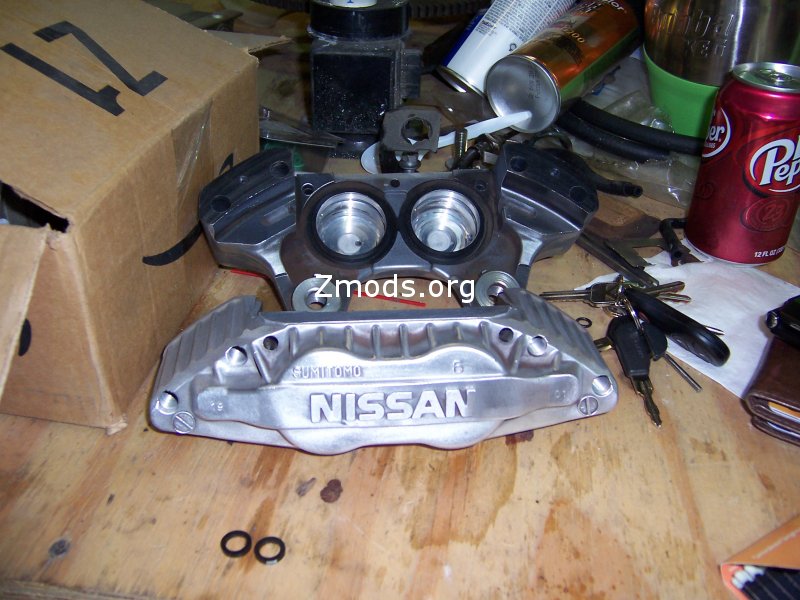
These are a set of 30mm aluminum calipers I pulled off a 1991 Twin Turbo
parts car. They were high mileage, and had definitely seen better
days.....until now!!
Basic
Preparation for the build
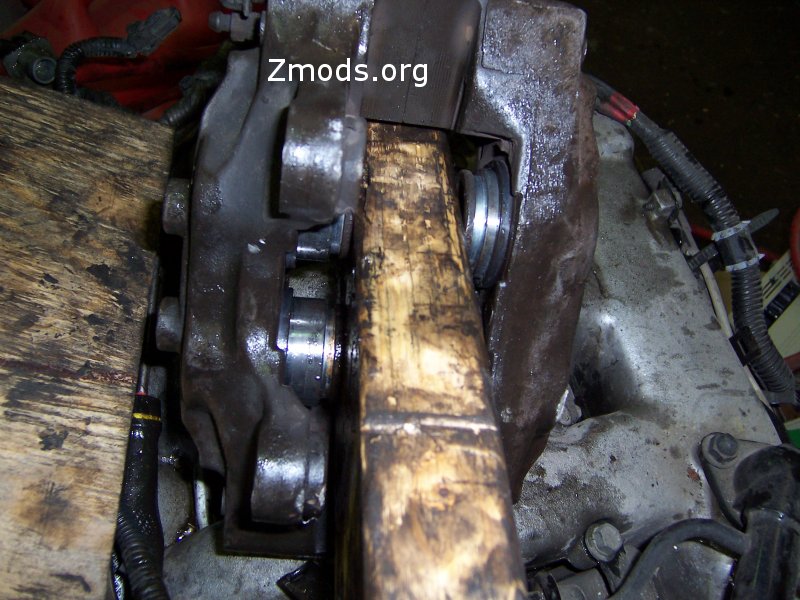
Step 1:
The first thing you want to do is remove the pads and all the pad retention
hardware. If you're reusing your old pads and not replacing them with new
ones, you need to mark their orientation!! This is VERY important!!
They need to go back on in the same location they came off!
Step 2:
Now that the pads and their hardware is out of the way, you now want to remove
the rubber dust boots and retainer rings from the caliper pistons. Use the fine
tipped awl and simply pop the metal ring off. The boot may come off with
it. If it doesn't, just grab hold of it and pull, it will come off easily.
You may discard these items in the trash FOR THE FRONT BRAKES ONLY, they will
not be reused. The rebuild kit contains new replacements for the front
brakes. You MUST SAVE the dust boots and O rings for the rear calipers!!
Be VERY careful not to puncture the dust boots with the awl during
removal on your rear calipers!!!
The rear rebuild kits are NLA (no longer available) from
Nissan!!
On this note, they VERY VERY rarely ever fail, so this is nothing to worry
about, you can reuse the O rings and dust boots without fear! When you
remove the O rings and dust boots from the rear calipers, simply inspect them
for damage. Damage you want to look for will be torn dust boots or damaged
O rings (signs of leakage, cracks or chunks missing). It's not likely you'll find any. If for some reason you
do, you'll need to replace that caliper.
Removing the
pistons
The pistons now need to be removed from the caliper. This next sequence
can be a bit tricky, especially if you have a sticky piston. A stuck
piston is not too common, but it can happen. The pistons should come out
fairly easily with the aid of an air compressor. If the piston is seized,
the caliper may need to be replaced.
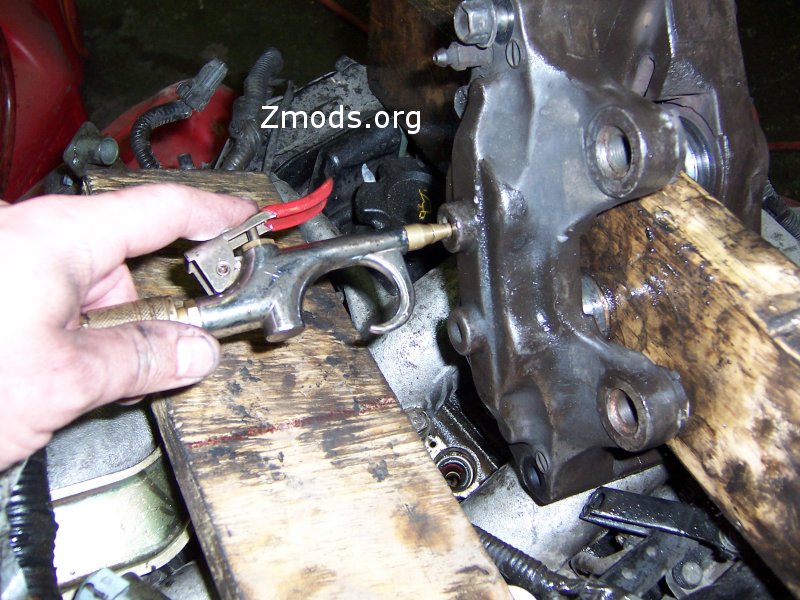
Step 1a:
Place a 2X4 up the middle of the caliper, between the pistons. Then place
your air hose with a small nozzle chuck attached over the line fitting on the
back of the caliper. Make sure the bleeder valve is installed and tight.
Get yourself into position, making sure your fingers are NOWHERE NEAR the
pistons!!! When you shoot the air into the caliper, the pistons will come
out with some velocity! If your fingers are in the way, it can definitely
cause injury!! When in position, give it a shot of air. The pistons
will start to come out and converge on the 2X4. If any one comes
completely out, leaving other still seated, slide it back in just enough to
reseal, and shim the opposite side of it with thin wooden shims to keep it in
its cylinder, allowing the others to come out.
Step 1b:
On the rear calipers, use the same technique, just use a thinner piece of wood.
I used a piece of 3/4" plywood, it worked fine.
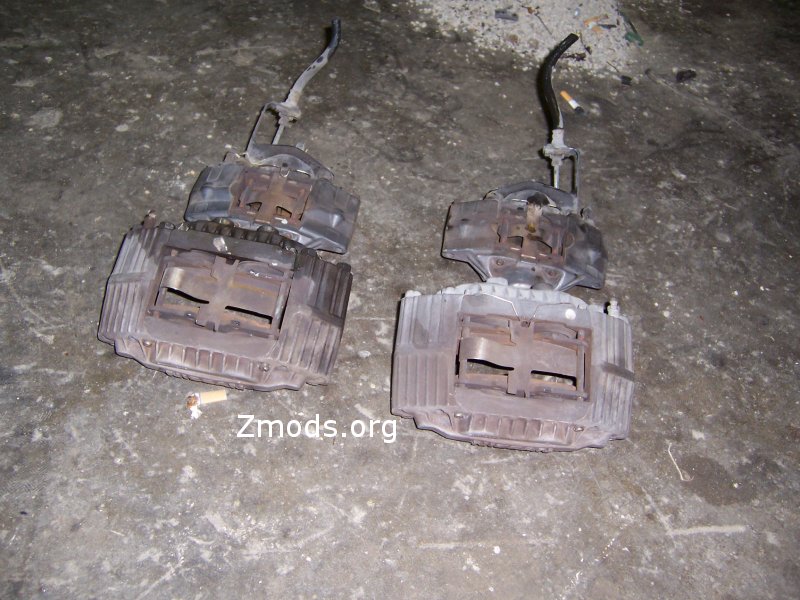
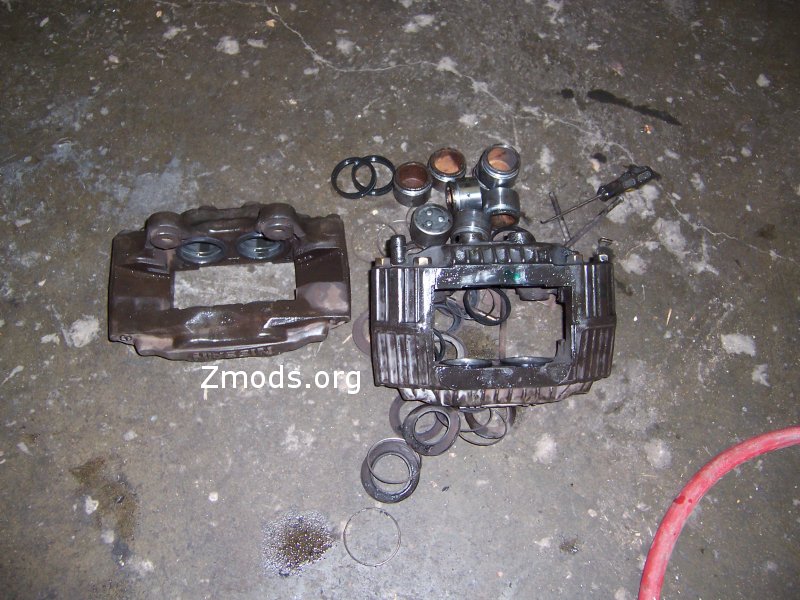
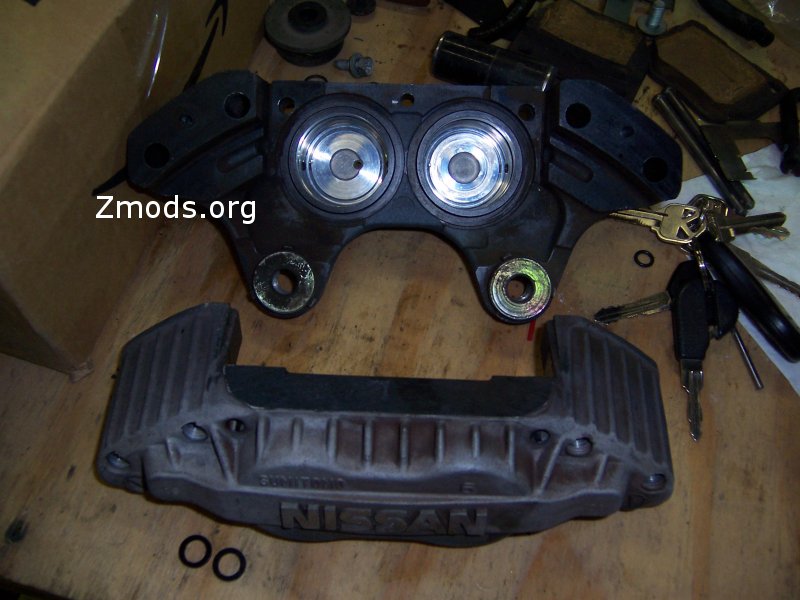
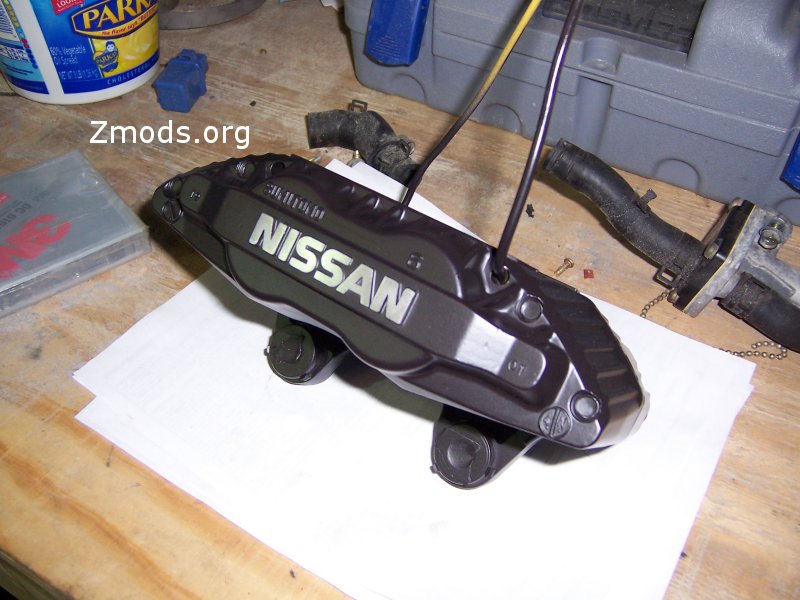
Step 2:
Once all the pistons are protruding from the caliper like the ones on the left
in the picture above, they should pop out with little effort. If they're
still too tight to pull by hand, you may use some large pliers. If you
need to use pliers, grab the outer lip that the dust seal rests in!!!! DO
NOT GRAB THE PISTON SIDES!! If you scratch or score it, the piston is
ruined, as this will cause leaks!!
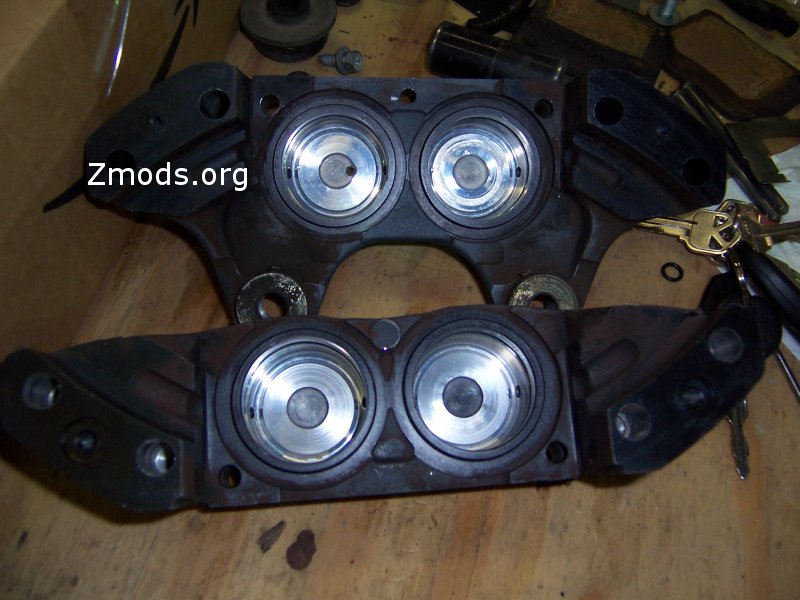
Step 3:
Now that all the pistons are out, you want to remove the "O" rings from the
cylinders. Use your awl and carefully slide it between the ring and the
slot, and raise up on the O ring. BE VERY CAREFUL NOT TO DIG INTO OR
SCRATCH THE O-RING SEAT!! Again, this will cause irreparable damage,
resulting in a leaky caliper!! When you're all done, this is what you
should have:
Back to Top
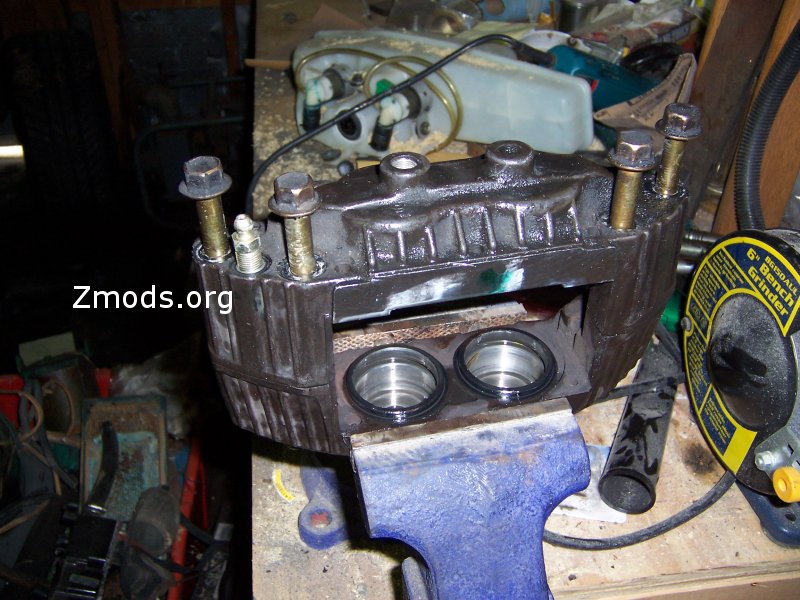
Splitting
the caliper halves
In this sequence, we will be splitting the two caliper halves apart.
Step 1:
Place the caliper in your bench vise, and snug it down.
Step 2:
Using a 14MM socket & ratchet, loosen all 4 of the bolts. Once all 4 are
loosened, go ahead and remove them from the caliper. Make sure you have a
hold of the caliper half that's not in the vise, as when the bolts are removed,
it may fall.
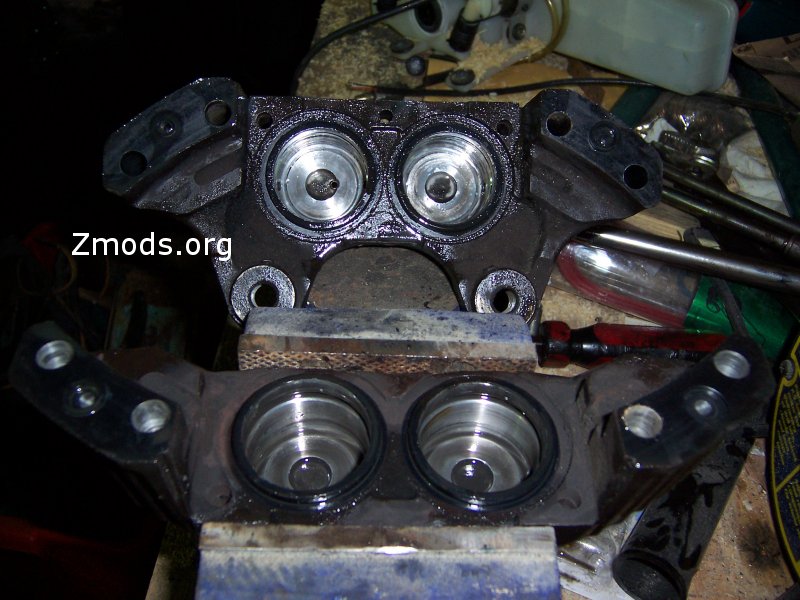
Step 3:
Separate the halves, paying VERY close attention to two small O rings between
the halves!!! They may fall to the floor or stick to the caliper. DO
NOT LOSE THESE!! The kit does NOT include replacements for them, so these
need to be kept safe for reuse during reassembly!!

Back to Top
Chemical
cleaning the calipers
Ok, this sequence is chemical washing of the caliper. This is where
those cans of brake cleaner will be used. I did this outside, as it can be
messy.
Step 1:
You want to douche (< heh) the caliper halves VERY thoroughly!! Make sure
you get the fluid journals and the cylinders clean of all fluid and dirt, same
with the exterior. I recommend wearing rubber gloves when doing this, as
the brake cleaner can irritate your skin, and you WILL get some on your hands!!
I have tough skin when it comes to things like this, and I'll admit, this stuff
bothered me.
Step 2:
Let them dry, it won't take long, the cleaner evaporates fast. When done,
they should look similar to this:
Back to Top
Wire wheel the
calipers and hardware
This sequence is also another self explanatory one. You want to wire
wheel all the embedded and caked on brake dust off. I strongly recommend
wearing a respirator or dust mask when doing this!! Brake dust is contains
asbestos. Not something you want to be inhaling!
Step 1:
Run the wire wheel over all accessible surfaces of the halves. You want to
get into all the crevices, removing as much of the dust as you can. DO NOT
allow the wire wheel to get into the cylinders!!! Also, do not wheel the
mating surfaces where the halves join. Make sure the O ring seats are
clean and free of debris, but don't wire wheel them if you can help it!!
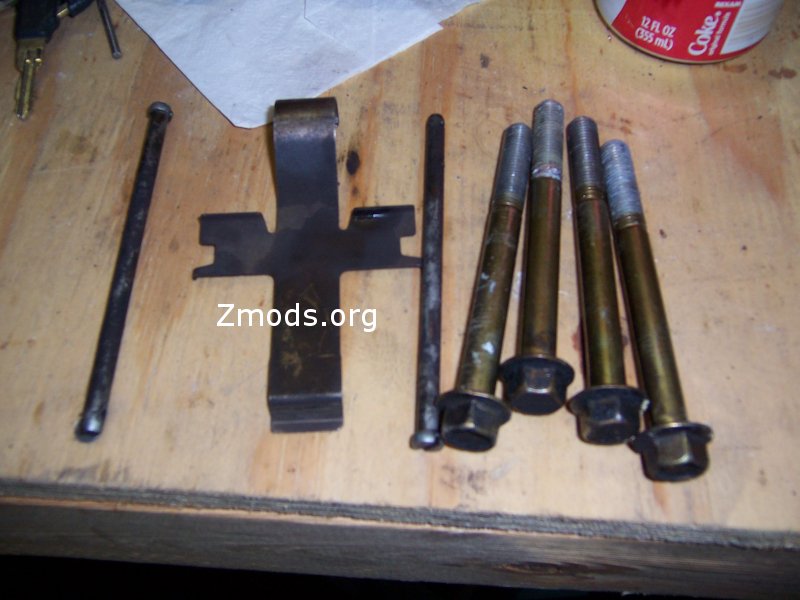
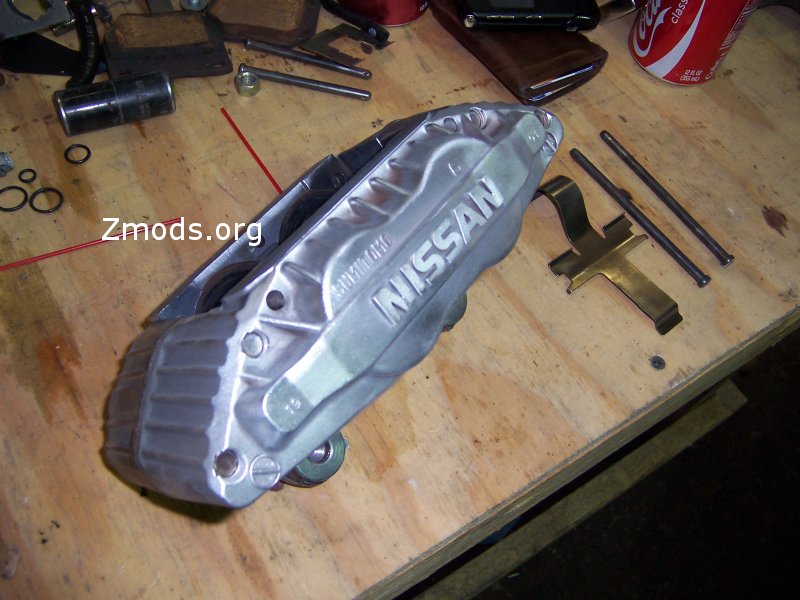
Step 2:
Wire wheel the pad retention hardware and the 4 bolts as well. On the
bolts, make sure you wheel off any rust or corrosion on them. Make sure
you get all the crud and brake dust off the bolt heads, or this may cause
problems later with the paint.
BEFORE:
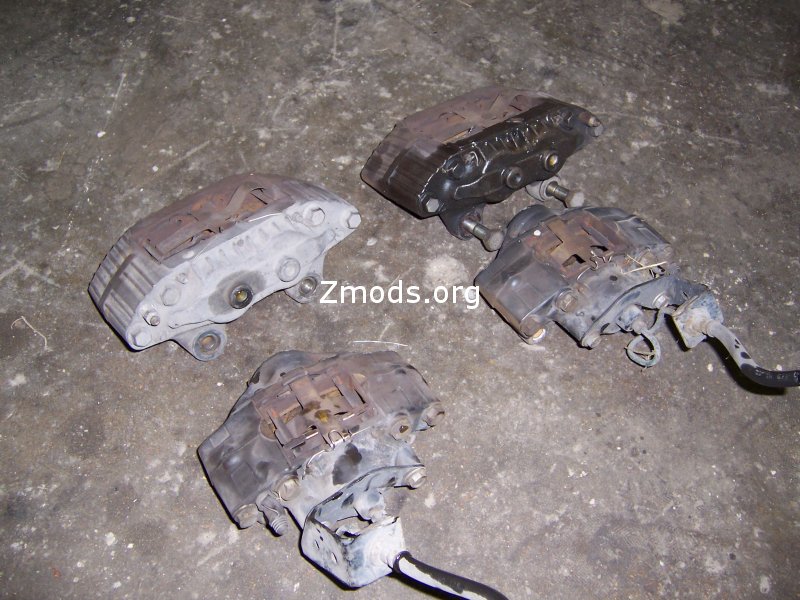
After:

Calipers AFTER:

Step 3:
You now want to reunite the two halves. Put the front half in the vise.
Before reuniting the halves, you may want to give the halves a blast with
compressed air, just to make sure you left no dust in anything.
Step 4: <-- VERY IMPORTANT!!
Don't skip this step!!
Place the O rings in their seats.
Step 5:
Place the back half onto the front half, making sure the O rings don't shift
around or move. Insert the bolts, holding the halves together with your
hand, not allowing them to shift around. Hand tighten the 4 bolts.
Step 6:
Torque the bolts to 60 ft lbs.
Back to Top
Preparing for
paint
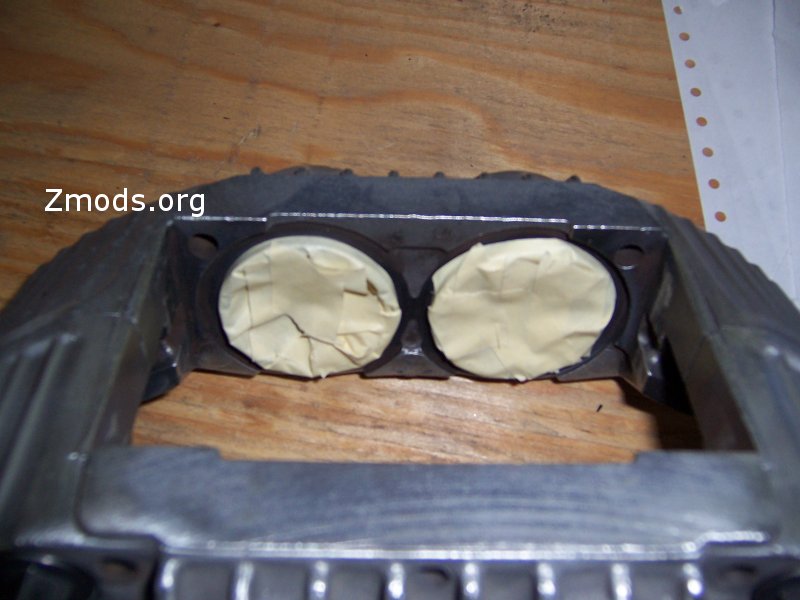
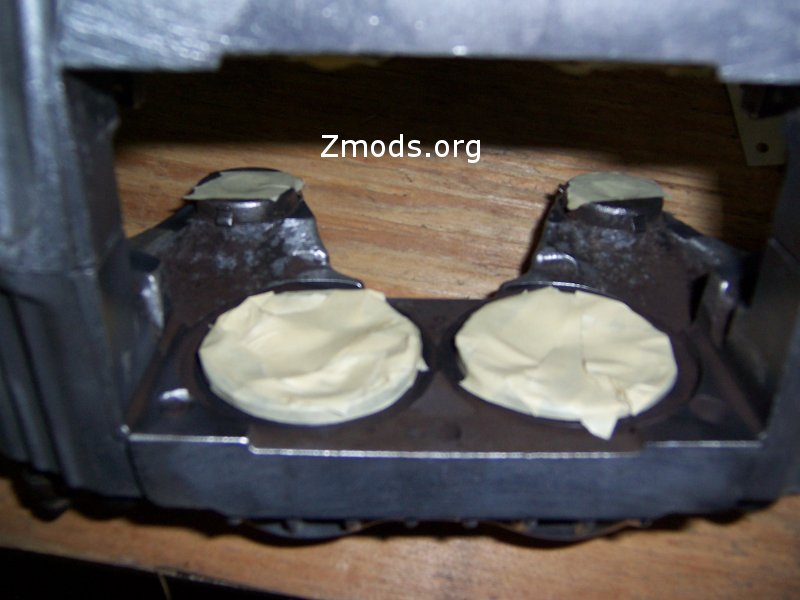
In this sequence, you want to mask off things that you don't want paint in.
Step 1:
Mask off all of the cylinders, including the outer lips.
Step 2:
Place a small piece of masking tape over the front and back of the bolt holes.
You don't want paint in the threads.
Step 3:
Place something in the line hole. I used an old bleeder I had. If
you use a bleeder, you'll have to first grind the tip off it to allow it to fit.
Also, make sure it's free of any oil or brake fluid.

Step 4:
You now want to take a rag and wet it good with acetone or lacquer thinner.
Wipe down the whole caliper with the soaked rag. This will remove any
residual contaminants you may have gotten on the caliper from handling it after
the chemical cleaning and the wire wheel cleaning. After wiping it down
thoroughly, do not touch it with your bare hands again!! This is the final
paint prep step before you actually spray them. If you get oil from your
skin on them, the paint may not stick in those places.
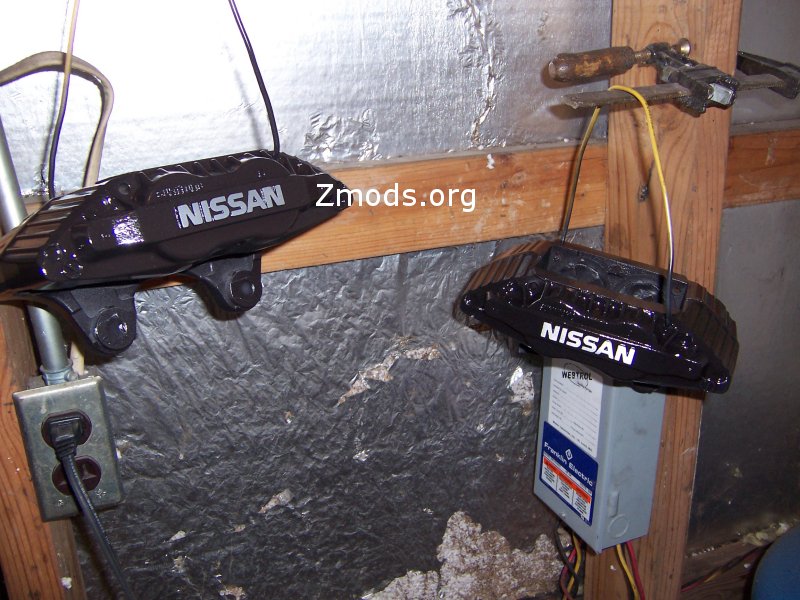
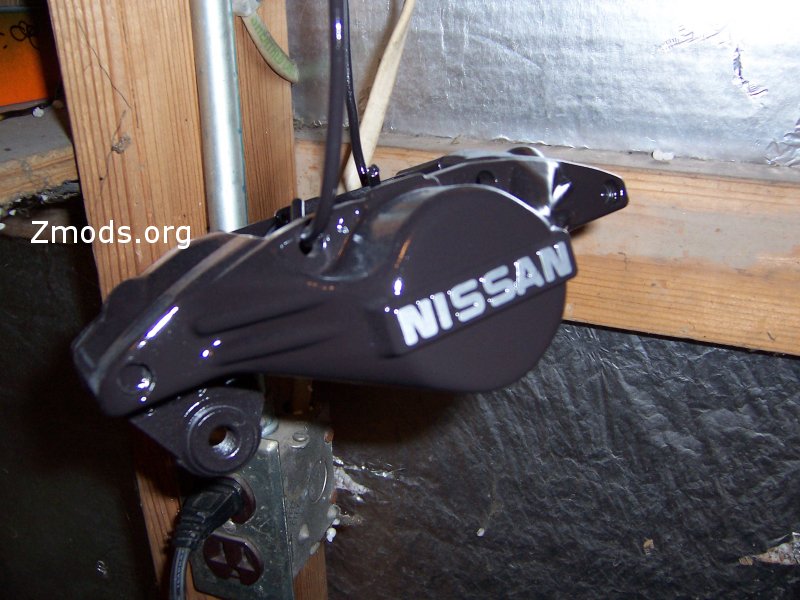
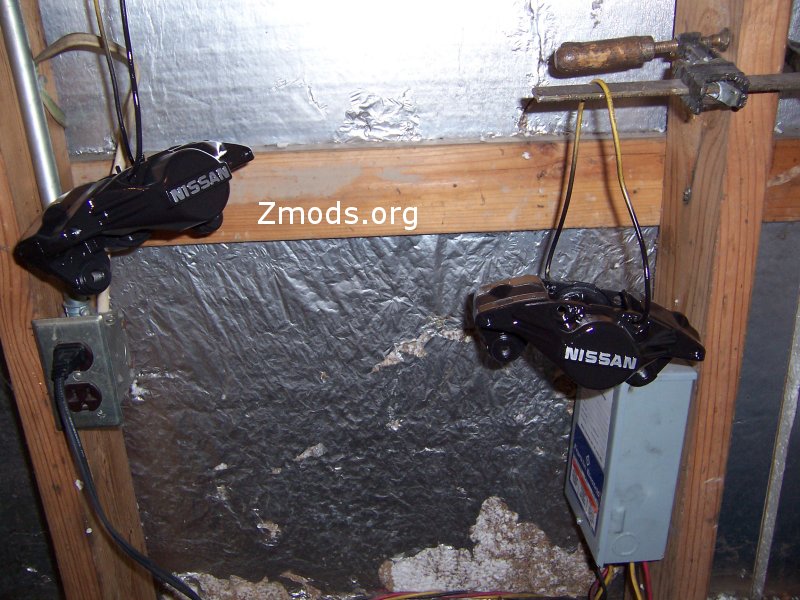
Step 5:
Rig hangers to hold the calipers for painting. Do not set them on flat
surfaces, you won't be able to get the underside, and it will definitely show in
the end!! When making your hangers, set them so you have 360 degree access
around them, so you can coat them evenly.

Back to Top
Painting your
calipers
This is it!! This sequence covers spraying the base coat on the
calipers. I used Duplicolor's high temp flat black as a base coat.
This paint requires no primer, and can withstand temperatures up to 1200
degrees!
Step 1:
Follow the directions on the paint can, as that's the best way to start.
Lightly coat the calipers the first couple coats, letting it tack up for a few
minutes between coats.
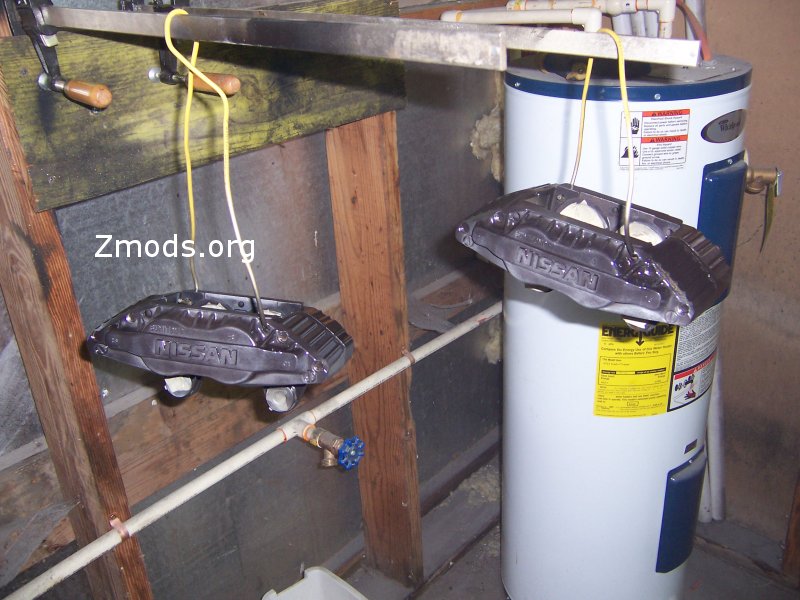
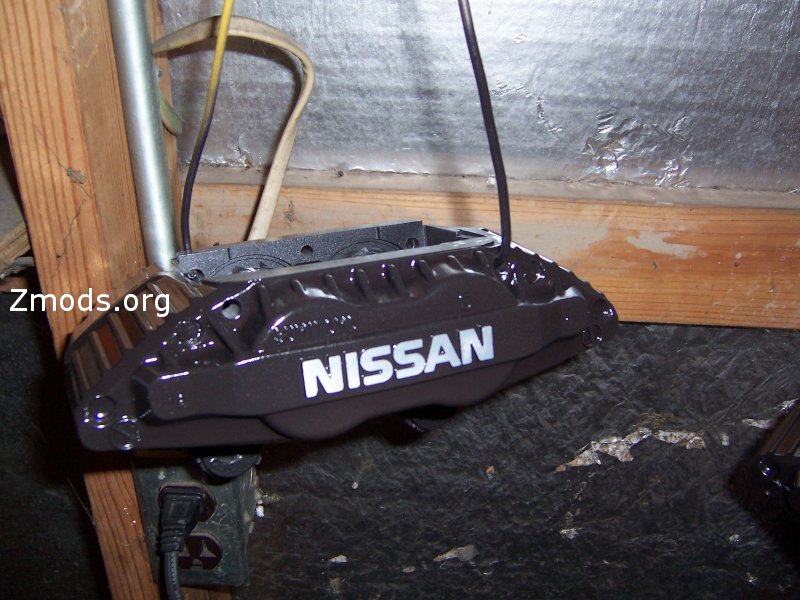
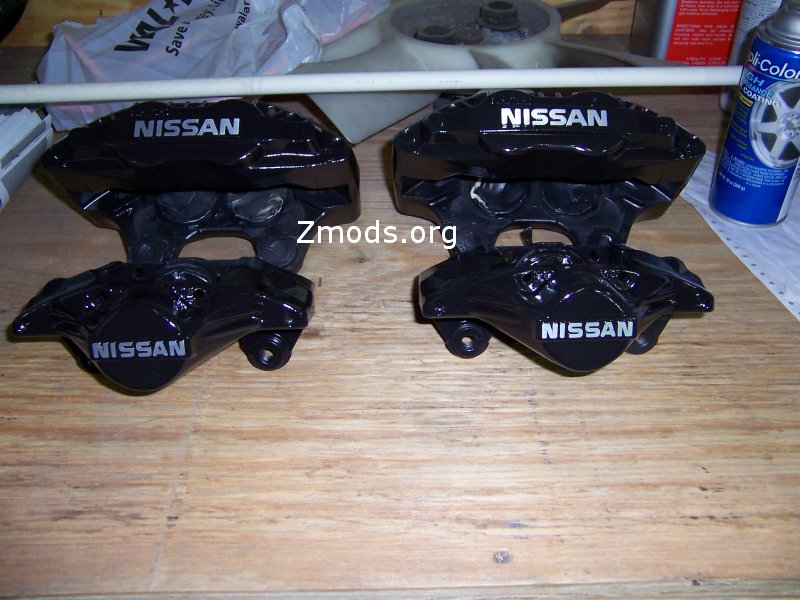
Step 2:
After two or three thin coats have been applied, start making the coats thicker.
I typically use five or six coats of base on a caliper, this makes for a smooth
yet robust coating. 2~3 thin coats, and 2~3 thicker coats. After
your last coat, your calipers will look something like this (Yes, that is black.
The paint is wet, and the flash distorts it a little. This is normal):


Step 3:
Allow the calipers to hang and dry for 24 hours.
Back to Top
Blocking
the raised letters
This sequence will remove the paint from the raised letters, If you
want the letters the same color as the calipers, you may skip this sequence.
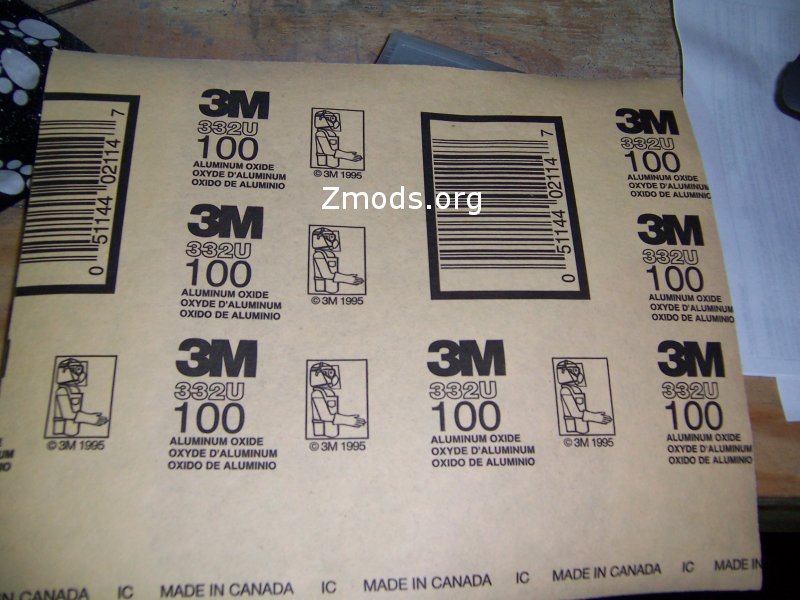
Step 1:
You'll need a sheet of 100 grit sandpaper and a sanding block. I used a
scrap piece of a 3/4" plywood with a flat surface. It was the perfect
width to cover the lettering, but not overlap the rest of the caliper too much.
This is helpful for avoiding acidents.
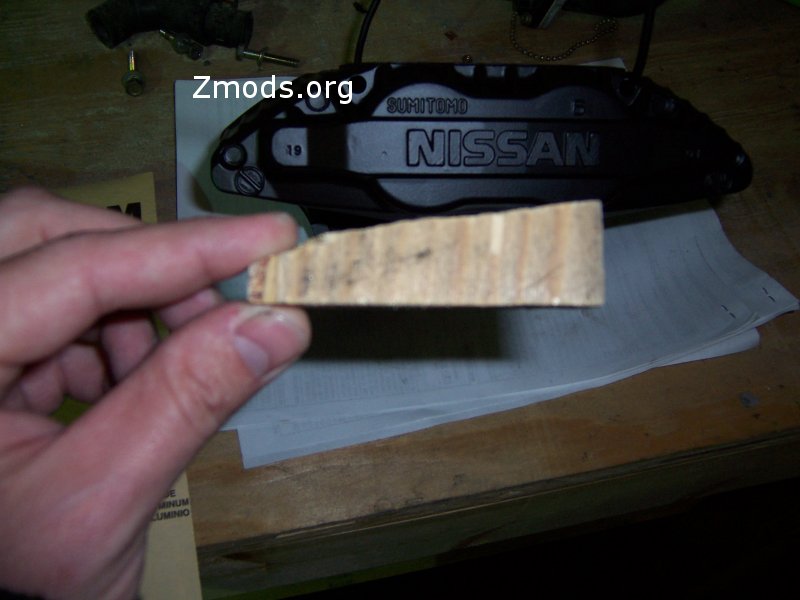
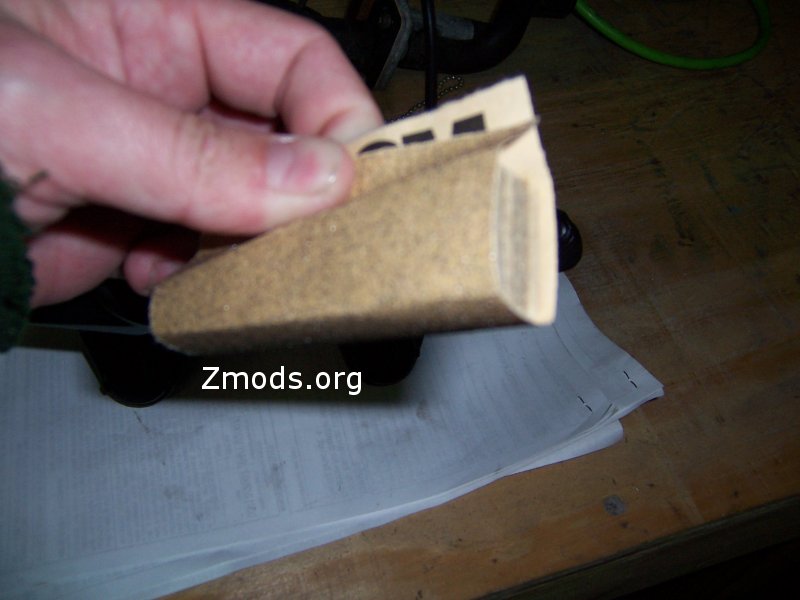
Step 2:
Wrap a small piece of the sandpaper around the block, making sure its pulled
snug, so the paper won't slip.
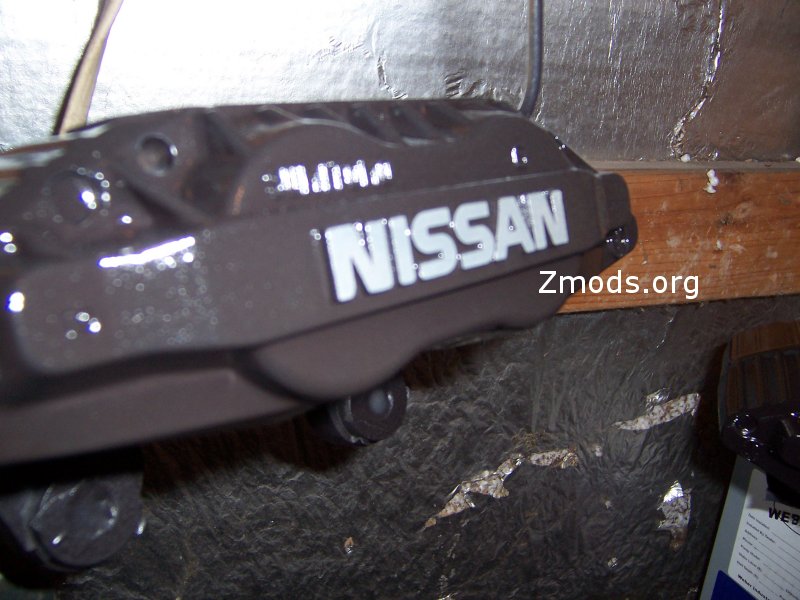
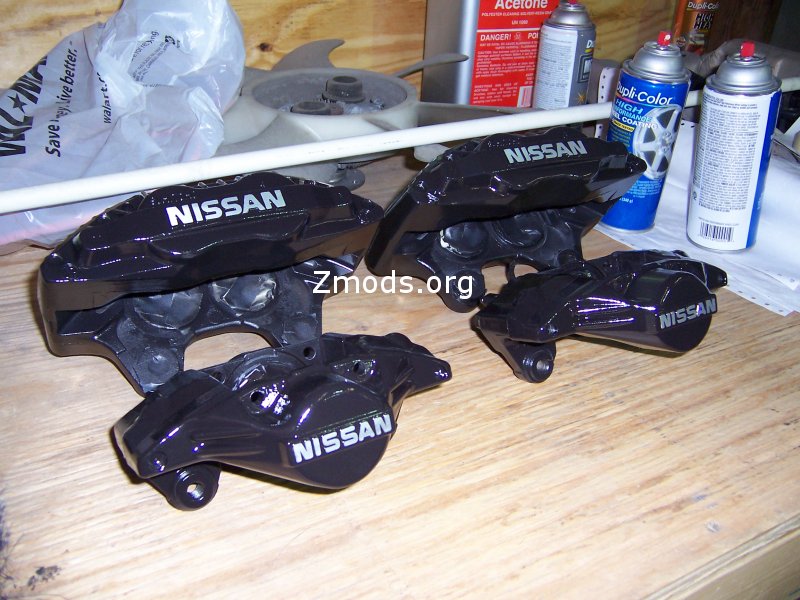
Step 3a:
Sand the lettering side to side until all the paint and texture is gone.
You're finished when you've got a sharp and clean brushed look.
Step 3b:
On the rear calipers, the letters are smaller and not raised as high as the
fronts. Use extreme caution not to angle the block, or you'll end up
having to touch up or re-shoot the entire caliper!!!
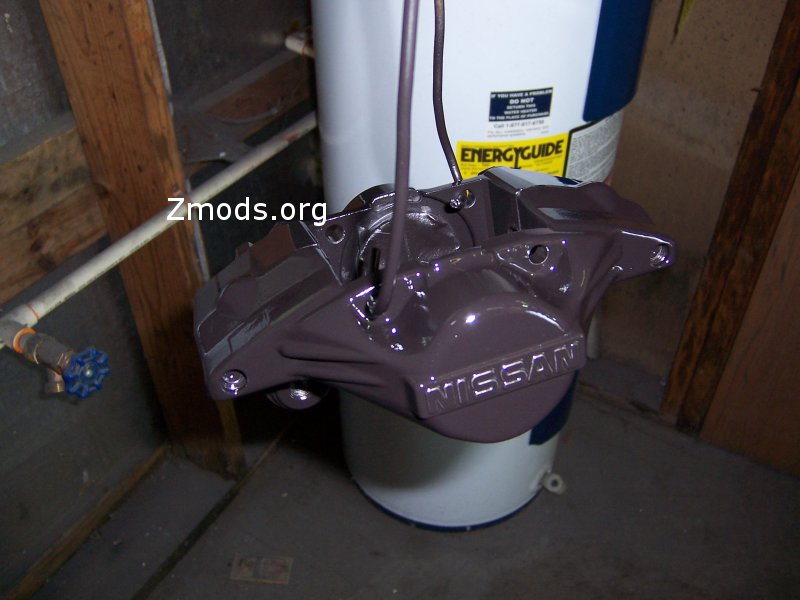
Step 4:
When you're done, hang them back up, its time to clearcoat them.
Back to Top
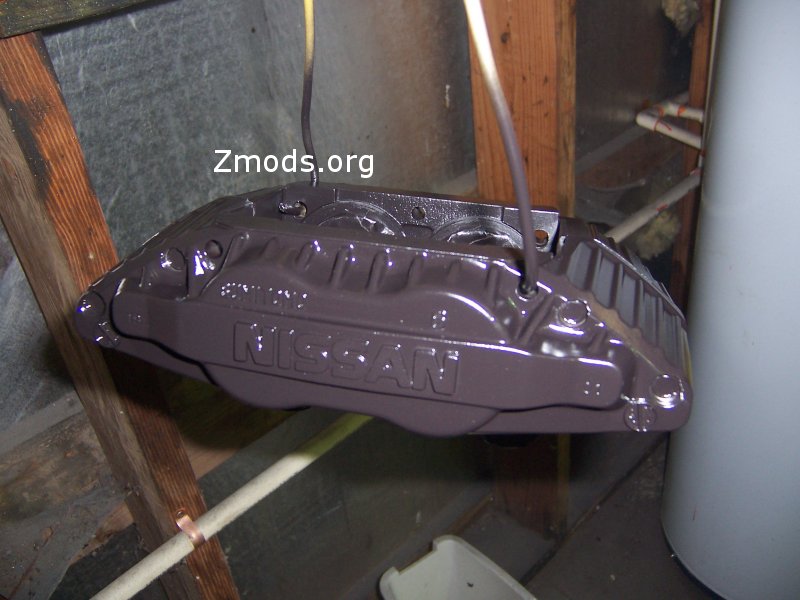
Applying the
clearcoat
This is done similar to the paint process. I used Duplicolor wheel
clear, which is high temp.
Step 1:
Apply several thin coats, allowing it to tack up between coats.
Step 2:
Apply several thicker coats, again, allowing it to tack between coats. If
when applying the thicker coats, using the Duplicolor wheel clear, you may
notice a white milky appearance in the coating. This is nothing to be
alarmed about, it will clear up as the coating begins to cure.

Step 3:
Allow them to dry overnight before handing them. I recommend letting them
sit a couple days before reinstalling, to insure it's thoroughly dried.
Step 4:
After they're dried, remove all the tape, old bleeder valve, and whatever you
had covering the brake line opening.
Back to Top
Reassembly
This one is also very cut and dry. Simply reassemble everything the
opposite of how you took it apart, which is outlined earlier in the writeup.
Step 1:
Clean the pistons thoroughly, removing fluid, dirt, and gunk. Just use a
rag and give them a good wipe down.
Step 2a - Front caliper O ring reinstall:
The new O rings will have grease on them. Do not wipe this off!
Slide the O ring into its seat, making sure that its in there uniform. They
will twist up easily, so make sure it doesn't do that. You'll know it if
it does, you'll never get the piston back in!
Step 2b - Rear caliper O ring reinstall:
Since these are the old ones being reused, wipe them down to clean any dirt and
fluid off of them. In your rebuild kit for the front calipers, you'll
notice a packet of brake grease. Use a little of this on the O rings to
slick them up, and then reinstall them the same way outlined in step 2a.
Step 3:
Now it's time to reinstall the pistons. Use a little of the pink brake
grease and lube the side of the piston. Start the piston into the
cylinder, and slowly push it in. DO NOT PUSH THE
PISTON ALL THE WAY IN!!!!!!!!!!! You need to leave them sticking out a
little to reinstall the dust boot. If they're all the way back, its a pain
to get the boot on!!
Step 4a - Reinstalling the dust boot:
Now put the dust boots on. On the rear calipers, you might want to clean
them up with some brake cleaner first, to get the gunk off them. Place it
over the piston, allowing the boot to seat itself in the groove on the piston.
NOW, you can push the piston all the way back in!
Step 4b - Reinstalling the dust boot:
Once the piston is all the way back, massage the outer edge of the boot until
you feel it slide over the lip on the cylinder and seat. Then take the
retainer rings and put those back on. Simply pull the ring open at its
seam, place it into the groove on the dust boot, and let go. it will snap
right into place. Verify it is seated by looking at it all the way around.
Step 5:
Install your new speed bleeders if you elected for those, and tighten them down.
That's it!!! You're now ready to reinstall them on
the car, and bleed them down! I hope you found this article useful!
Back to Top
Zmods.org screen name: Twisted Six
3ZC screen name: Twisted Six
AIM screen name: TT2by2
|